My Blinkie


Cupcake Bear

Sarah_MS_Bear

Autism Bear

Autism_Bear-_MPP-_Sarah_Ben_zps942ced18

My Pixel Giraffe

giraffe_pixel_sarah

CT Manager

LHDCTBlinkiie SD-Wicked-Princess-Scraps-vi-zps771d941b

CT Teams

CCD17-Blinkie-SK kelz-blinkie 2v2-HD7tf8x6-Hb-Sk Fan-Of-Wicked-Diabla
Thursday, December 31, 2020


This tutorial was written on December 31,2020
Any resemblance to another
tutorial is purely coincidental.
I am using the art of Destiny Lauritsen
with her tube 11-1.

Plugins:
Mura's Meisters Copies
Xero Porcelain
Toadies Blur 'em
EyeCandy 4000 
Sabercat

Animation by Rebel Dezigns 
Pack 399

Texture Stock 261 by
KihOskh714 Here

Open up a 700x700 new image.
Open up your tube & texture image of choice.

Select your Rectangle Preset shape tool.
Set your width to 6.00. On the Materials palette,
set Foreground/Stroke to white or a color of choice.
Hide the Background/Fill color for now.
Draw out a vertical rectangle on your new image.
Go to Objects - Align - Center In Canvas.
Convert the shape to a raster layer.

For your texture image, resize if needed. 
I resized mine to 45%. Copy & Paste as a new layer
underneath your shape layer.
Repeat with copy & paste of your tube making sure it 
is above the texture layer.

Rename your layers in the layer palette.
Shape
TubeWP
Texture1

Select your shape layer.
Click inside the shape with your magic wand tool.
Selections - Modify - Expand by 3.
Selections Invert.
Select each of the other two layers & press delete
on each layer. Select none.

Duplicate the TubeWP layer & rename Effects.
Keep the layer selected in your layer palette.
Apply the plugin Toadies Blur 'em with default settings.
'Then apply Sabercat - Saber's Plaid Generator  w/ default settings.
Change the blend mode on this layer to Soft Light or whichever
works well with your tag.

Select the TubeWP layer now.
Apply the plugin Xero Porcelain w/ default settings.
Change the blend mode to  Dissolve.

Select your shape layer.
Click inside the shape with your magic wand tool.
Selections - Modify - Expand by 3.
Selections Invert.
Select the Effects layer & press delete on your keyboard.
Select none.

Duplicate the Texture1 layer. Move the copy layer to above the 
Effects layer in your layer palette. Rename it as Texture2 &
change the blend mode to Soft Light. Also lower the opacity to
 61.

Copy & paste your tube as a new layer.
Paste above your shape layer & mirror it.
Add a drop shadow of choice to the tube & shape layers.

Unhide the Background/Fill Color on your Materials Palette.
Select your font tool & choose a font of choice to use.
Type out a word of choice to fit your tag. I used the word Snowflakes.
I rotated the word 90 degrees left. Position along the side of your tag.
Apply the plugin Eyecandy 4000 Gradient Glow with the setting Fat.
Adjust the glow width to 3.00.Add a drop shadow of choice.

If you don't wish to animate, then crop your tag here. Add copyright information 
& a name for your tag. Save as a png.
To animate, continue.
Add a white background to your tag & crop to desired size.
Add artist copyright information & a name of choice for your tag.

Open up your Animation program of choice. I am using Animation Shop for mine.
Open your animation of choice in the program. Select all of the frames & Resize animation.

Hide the top layers for now. Copy merged the layers Shape & below.
Paste as new animation in the Animation program. Duplicate the image for the 
same amount of frames as your chosen animation. For mine, I needed a total of 25 frames.
In Animation Shop, you can duplicate frames via Ctrl + L. In the bottom right corner of the program, it will show you frame count.

To move the animation to the desired area of your tag, go to Edit - Select all on your tag image. Then click on the animation frames & repeat with Edit - Select All. Once selected,
then go back to Edit & select copy.

Click on the first frame of the animation & drag it 
onto the desired area of your tag.
Do not let go of your mouse until you are happy with its placement. If you aren't happy with its placement, you can undo it & try again though.

Back in your design program, copy the top layers of your tag. Take those back into animation program & paste as a new animation. Repeat the steps to get it to your needed frames.
Then select all, copy & drag onto your tag like we did the animation above.
Once you are happy with your tag, go to View & View Animation. If you are happy with what you see, then save as a gif :)

Thanks for trying my tutorial!


Wednesday, December 30, 2020

 CT timeline featuring the wonderful art of

PinUp Toons. I am using a bonus tube of his

from 2016 which is available for purchase. I 

am also showcasing the oh so lovely IB

Cartoon Pink 35-1 Scrap by Karmalized Scraps.

Life is made up, not of great sacrifices or duties, 

but of little things, in which smiles and kindness, 

and small obligations given habitually, are

 what preserve the heart and secure comfort.- Humphry Davy


Sunday, December 27, 2020

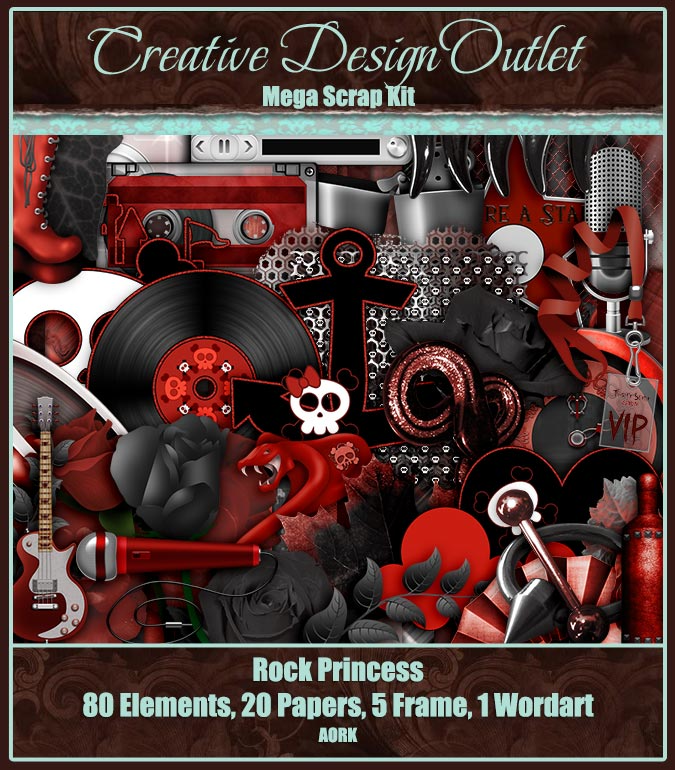
CT tag featuring the gorgeous art of Ted Hammond

using his rocking tube 31-2. I am also showcasing

the kickass scrapkit Rock Princess by AORK.

The animation is by Rebel Dezigns & is 

from the animation package 449.

If you can't handle the music being loud,

perhaps her concert isn't for you. There is

only one volume setting for her & that is loud!

You can almost feel the vibrations of the sound

waves going through you as you rock out.


Thursday, December 17, 2020

 CT timeline featuring the wonderful & 

oh so festive scrap Christmas Tradition

by Karmalized Scraps. The scrap is full

of lots of wonderful decorations for your creations.

"For Christmas is tradition time—

Traditions that recall

The precious memories down the years,

The sameness of them all."

- Helen Lowrie Marshall

"Christmas will always be as long as we stand 

heart to heart and hand in hand."

- Dr. Seuss


Monday, December 7, 2020

CT tag featuring the adorable art of Maryline Cazenave

using her tube 105-2. I am also showcasing the 

oh so chilly IB Maryline Cazenave 105-2 

Scrap by Kizzed by Kelz.

 This sweet pup loves to play outside

in the snow with you. Riding the sled

or jumping in the show piles is just

fine with him. Just be sure to

warm him up afterwards along 

with yourself.


 The psp community was rocked this past week with the passing 

of our beloved Pinky T, Tonya. She was heavily involved in 

so much of PSP & her loss has shaken many of us to our core.

I considered her one of my closest & dearest friends.

There was hardly a day that we weren't in chat 

throughout the day talking about anything & everything.

While we are still mourning, I wanted to take a moment

to celebrate her creations. Tonya certainly created

such beautiful tags for us. It's impossible to choose 

a few favorites but I selected some which show

how talented & gifted she was in psp. She often

said she couldn't tag gothic but I don't think

she ever truly found something she wasn't 

capable of making beautiful.I also wanted to

showcase creations with a few of her 

favorite artists - Jennifer Janesko,

Anna Liwanag  & Maryline Cazenave.


TOUs

I do not allow resizing of my tags, timelines or wallpapers. All of my creations are for PU only unless otherwise stated. Nor are they to be altered in any way either.

Categories

My Store

TSdesign_byangelsdesignz

Followers

Blog Archive

Contributors

Zone Award

Award_Wicked_Little_Cupcake