






CT tag featuring the beautifully gothic
art of Yuriko Shirou using her tube 21-1.
I am also showcasing the fantastic
IB Yuriko Shirou 21-1 Scrap by AORK.
Animation 2013 Animation Package
670 by Rebel Dezigns. Life has
left them tattered & torn. Yet they
find comfort in one another's presence.
By finding a kindred spirit, together
they will weather the storms life throws at them.
Artist is currently selling at DAH


In addition to being a fantastic
artist & designer, Rene Kunert
writes amazing Photoshop tutorials.
A few examples of her tutorials
are below. And she is a magician
with animation. Her tutorials will teach
you how to design & animate all within Photoshop.
For those within the tagging community who
do use PSP, happy playing!!


CT tag featuring the gorgeous art of
Goldwasser. The tube is included in the
oh so gothic scrap Dark Ocean of Shadows
by Curious Creative Dreams. I am also
showcasing an animation by Rebel Dezigns
from animation pack 682.
There are depths of the ocean we have only
started to scratch the surface on. Secrets lie
buried in the dark water. Ship wrecks forever
hidden beneath the waves - lost to sirens
singing their cursed songs. Take care not to
listen to their melodies - lest you disappear as well.


CT tag featuring the gorgeous art of
Michael Landefeld using his tube 24-1.
I am also showcasing the
scrap Melody by AORK &
Rebel Dezigns Animation from pack 200.
She sings with her heart & her soul.
Her words create melodies as they escape
from her lips The lyrics & melodies will
reach into your very soul to touch you.
Let the tunes take you away.


This tutorial was written on February 1m 2021
Any resemblance to another
tutorial is purely coincidental.
I am using the art of Zindy S. D. Nielsen
with her tube Sweet Little Kisses
Animation by Rebel Dezigns
Pack 235
Plugins:
Mura's Meister's Copies
I-Decay
DCSpecial
Toadies
Texture of Choice
I am using one exclusive to members of
Creative Misfits Forum
Open up a 700x700 new image.
Choose a texture & tube of choice.
Greyscale tube may work better depending on
the texture you choose.
Select your preset shape tool.
Set width to 6.00.
On your Materials palette, hide the Background
& Fill color option. Choose a color for the Foreground color.
I chose white but that can change depending on your texture.
Draw out a heart shape to desired size.
Go to Objects -Align -Center in canvas.
Selections - Convert to Raster.
Copy & paste your texture as a new layer
underneath the Heart shape layer.
Do the same with your tube of choice but paste
it above the texture layer.
Position the tube as wanted in the heart shape.
Duplicate once.
On the original tube layer, apply the plugin
Mura's Meister's Copies: Wallpaper rotate default.
Now, let's rename layers to help us keep them straight
while working on our tag. I did the layers going down:
Heart
Main Tube
WP Tube (Its the layer with the wallpaper effect)
Texture1
Select your magic wand tool.
Making sure the Heart layer is selected in your Layer palette,
click inside the heart shape.
Selections - Modify - Expand by 2.
Selections - Invert.
Click each of the layers on your layers palette
& press delete on your keyboard.
This will delete the excess of the layers outside of the shape.
Select none.
For now, hide the Main Tube layer & select the WP tube layer.
Apply the plugin I-Decay - Accident w/ default settings.
Next, apply the plugin DCSpecial - Rich-n-r w/ default settings.
followed by DCSpecial - Borderfade also with default settings.
Change the Blend mode on the layer to Hard Light or one that
compliments your tag.
Unhide the Main Tube layer & add a drop shadow of choice to it.
Duplicate the Texture1 layer & move it above the Main Tube layer.
Rename it as Texture2.
Change the Blend Mode to Hard Light.
Keep Texture2 selected & select your Font tool.
Unhide the Background color option on the Materials palette.
Choose a color from your texture for text.
Select your desired font options & type out a single word to
fit your tag. I chose the word kiss.
Once typed, convert the word to raster.
Open up Mura's Meister Copies: Tiling. Change the Tile gap to 2.
Apply the plugin.
Select your magic wand tool.
Making sure the Heart layer is selected in your Layer palette,
click inside the heart shape.
Selections - Modify - Expand by 2.
Selections - Invert.
Click the text layer on your layers palette & press delete on your keyboard.
Select none.
Lower the opacity to about 22 on the text layer.
Right click on your tag & copy merged.
Paste as a new layer under all of the tag layers.
Go to image - Free Rotate -Right 10.00
Make sure the box to rotate all layers is NOT checked.
Apply Toadies - Blast 'em with default settings.
Crop your tag to desired size.
If you are not going to animate, add copyright information & tag name
now. Save as png.
To animate continue below:
Make sure your animation program is open. I am using Animation Shop.
Crop your tag to desired size & add artist copyright if you haven't already. On the bottom layer, flood fill with white.
On your tag layers, merge the Heart & Copyright layers together.
Hide for now. Merge visible the rest of the layers.
Copy these layers into your animation program.
For the animation I am using, I selected all the frames & resized it to 65%.
Now, on my tag image, hold down Ctrl button & repeatedly tap L button to get multiple frames.
You can keep track of the frame count in the bottom right corner of Animation
Shop. You need the same number of frames as the animation you are using. For
me, that is 25 frames. Making sure your tag image is highlighted, go to Edit & Select all
Now, go to your animation & Edit Select all - then Edit copy.
Holding the mouse button down, grab the first frame of the animation &
drag it onto your tag image. Do not release the mouse button until you have it
placed exactly where you want. However, if you mess up, just undo on both the
tag image & the animation. If you want to view the animation, while still working
on your tag image, just go to view animation. Now, go back to PSP & copy the
hidden heart layer. Back into Animation Shop & duplicate it
until 25 frames. Yup have to do that again. Once done, Edit - Select All & Copy.
On your animated tag image, Edit select all.
We want to drag the heart frames onto the animated one. Get the idea now?
Make sure to position the heart so it fits exactly as it did in psp.
View animation to make sure you like your tag.
Save as gif.
Repeat the above steps to add a name as well to your tag.
Thanks for trying my tutorial
CT tag featuring the gorgeous art of Keith Garvey
using his tube 33-2. I am also showcasing the oh so sweet
scrapkit Beary In Love by Karmalized Scraps.
The hearts animation is by Rebel Dezigns
& is from the animation pack 524.
It is the passion that is in a kiss that gives to it its
sweetness; it is the affection in a kiss that sanctifies it.
Christian Nestell Bovee


CT tag featuring the gorgeous art of Ted Hammond
using his rocking tube 31-2. I am also showcasing
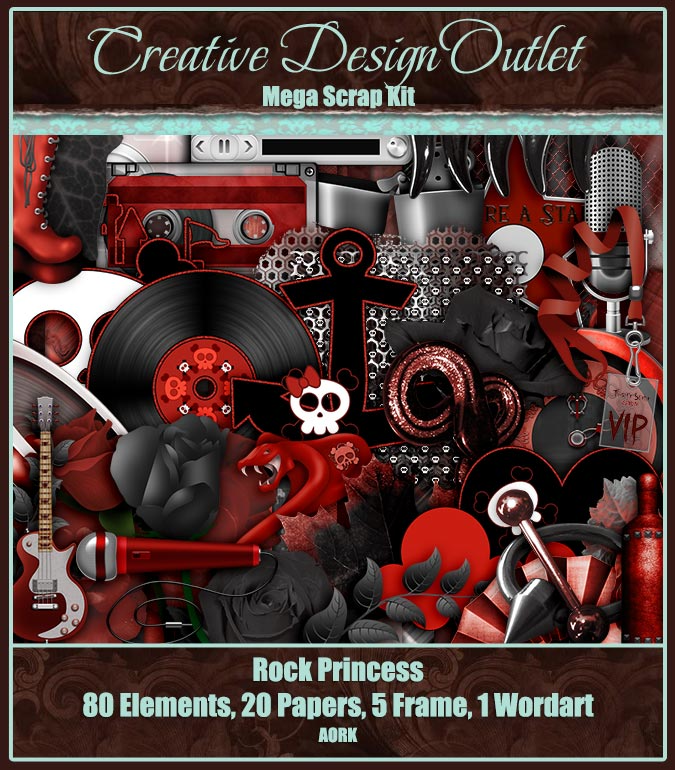
the kickass scrapkit Rock Princess by AORK.
The animation is by Rebel Dezigns & is
from the animation package 449.
If you can't handle the music being loud,
perhaps her concert isn't for you. There is
only one volume setting for her & that is loud!
You can almost feel the vibrations of the sound
waves going through you as you rock out.


CT tag featuring the beautiful art of Elena Dudina
using her tube 17-1. I am also showcasing the beautiful
IB Elena Dudina 17-1 Scrap by Chaos Priestess. The
animation is by Rebel Dezigns & is from pack 108.
I used animation 322 from the pack.
The night casts a blue glow to everything.
Tonight it matches her mood & thoughts of the world.
Tomorrow awaits but for now, she shall feel
these emotions before they fly away with the morning.


Zone Award
